One of the subjects of model railroading that I have not even touched on yet is what is called weathering, and for good reason too! Weathering is one of those subjects that is so broad that it is daunting to even attempt to explain and demonstrate. However, help came in the form of
Model Railroader Magazine with Cody Grivno's, "5 Ways to Weather", article that demonstrates the 5 easiest and best weathering techniques. they are numbered as follows:
Airbrush
Artist oils
Powdered pastels
Dry-brushing
Cosmetic applications
After reading the article, I decided to try weathering with artist oils, and i couldn't be more happy with the results! The April 2011 issue of MRR is a must for this subject and I recommend getting this one!
Weathering is basically making a plastic model look worn like it was out in the elements.
with trains, dirt, grime, mud, rust, UV paint fading, dust, scratches, dents, and rotting wood are the main elements that are modeled when weathering. there are several things that must be made known when weathering:
- train cars are different even if they are in the exact same environment as the one coupled to it.
- rust and grime are not symmetrical on the car
- the roof is more faded than the sides
- most gondolas have dents
- dust from A. over-filling cars with grain or gravel, or B. a part of the car goes through the exact same situation as the other side, will make marks that are similar and even symmetrical.
Knowing these things, I set out to weather my first car!
 |
| The first thing to do is take the sharpness of the white off. For this, I used burnt umber oil paint to model grime and dirt. |
 |
| To start, I added a mark to several spots on the car, but no more than 3 or 4. |
 |
| Then, I smeared the marks with a cotton swab. |
 |
| I also varied the width and length of the streaks to look more natural. |
 |
| Next was flat black to represent a darker, more pronounced dirt. |
 |
| I found that black looks best towards the roof of the car, so I made several marks on the roof line. |
 |
| Using the cotton swab, the black streaks added more depth. |
 |
| To simulate rust, I heard that red or brown would do, but I decided on using both to get a more dinamic color. |
 |
| Rust appears on rivits more than in the center of metal panels, so I lightly added the red/brown mix in those areas. |
 |
| Finally, white came into consideration for fading and even bird droppings. |
 |
| The white was smeared on horizontally to add more dynamic depth. |
 |
| With everything on, I was close to finish but a few more steps remained |
 |
| I added some more black. |
 |
| And I finally rubbed off some paint to complete the weathering. |
 |
| The top of the roof before weathering, the bottom after. |
 |
| before photo. |
 |
| Canadian Pacific steel boxcar, I used the white to add fading and wash out to the white lettering and very little rust to indicate a relatively well maintained car. |
 |
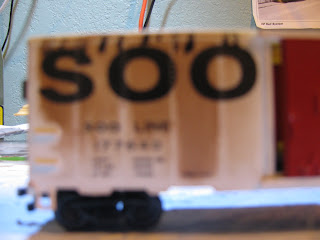
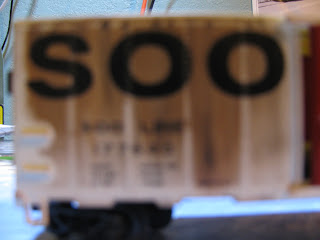
| Here is a SOO Line reefer from the steam era. Because there was too much orange, i just black washed the car and faded the roof. |
 |
| Con-Rail Hopper that has been in service a while. I used white to simulate the UV effects on metal paint. |
 |
| And finally, a Conoco Oil tank car that has some black over spill along the dome and the cylinder from years of use. |


No comments:
Post a Comment